Introduction
In Ubuntu 18.04 and later versions , network configuration is managed using netplan, a utility that makes it easy to configure network settings. Setting a static IP address is essential for servers, network devices, and certain applications that require a consistent network address. This guide will walk you through the steps to configure a static IP address using netplan on Ubuntu 18.04.
Steps to Configure a Static IP Address
Step 1 – Log in to your server
You must be logged in via SSH as sudo or root user.
Please read this article for instructions if you don’t know how to connect.
ssh root@ip_address_or_domain
Step 2 – Configure network configuration
Since Ubuntu 18.04 you can use Netplan to configure your network interfaces. This is a yaml based configuration file which is used to configure the network interface of your server. In our example, our yaml file has the following name
/etc/netplan/01-netcfg.yaml
and the filename can be different on your installation. Please inspect the configuration file below:
network:
    version: 2
    renderer: networkd
    ethernets:
      ens18:
         addresses:
           - 193.33.61.xxx/24
         gateway4: 193.33.61.1
         nameservers:
           addresses: [89.207.128.252, 89.207.130.252]
Step 3 – Apply the changes
To change from DHCP to a static IP configuration, ensure that dhcp4:no is set to disable DHCP for IPv4, Make sure to add the IPv4 address with the subnet mask also do not forget to add the IPv4 gateway.
The configuration file should be similar to the config file below.
network:
  version: 2
  renderer: networkd
  ethernets:
    ens18:
      dhcp4: no
      addresses:
         - 193.33.61.xxx/24  # Replace with your desired static IP and subnet mask
      gateway4: 193.33.61.1  # Replace with your gateway IP address
      nameservers:
        addresses: [89.207.128.252, 89.207.130.252]
You can find these details from your client portal.
Login to client portal
For VPS :
- Choose the service and click more on the top right menu
- Choose interfaces from the dropdown list
You can find the Network address and Gateway while hovering over the IP with your cursor

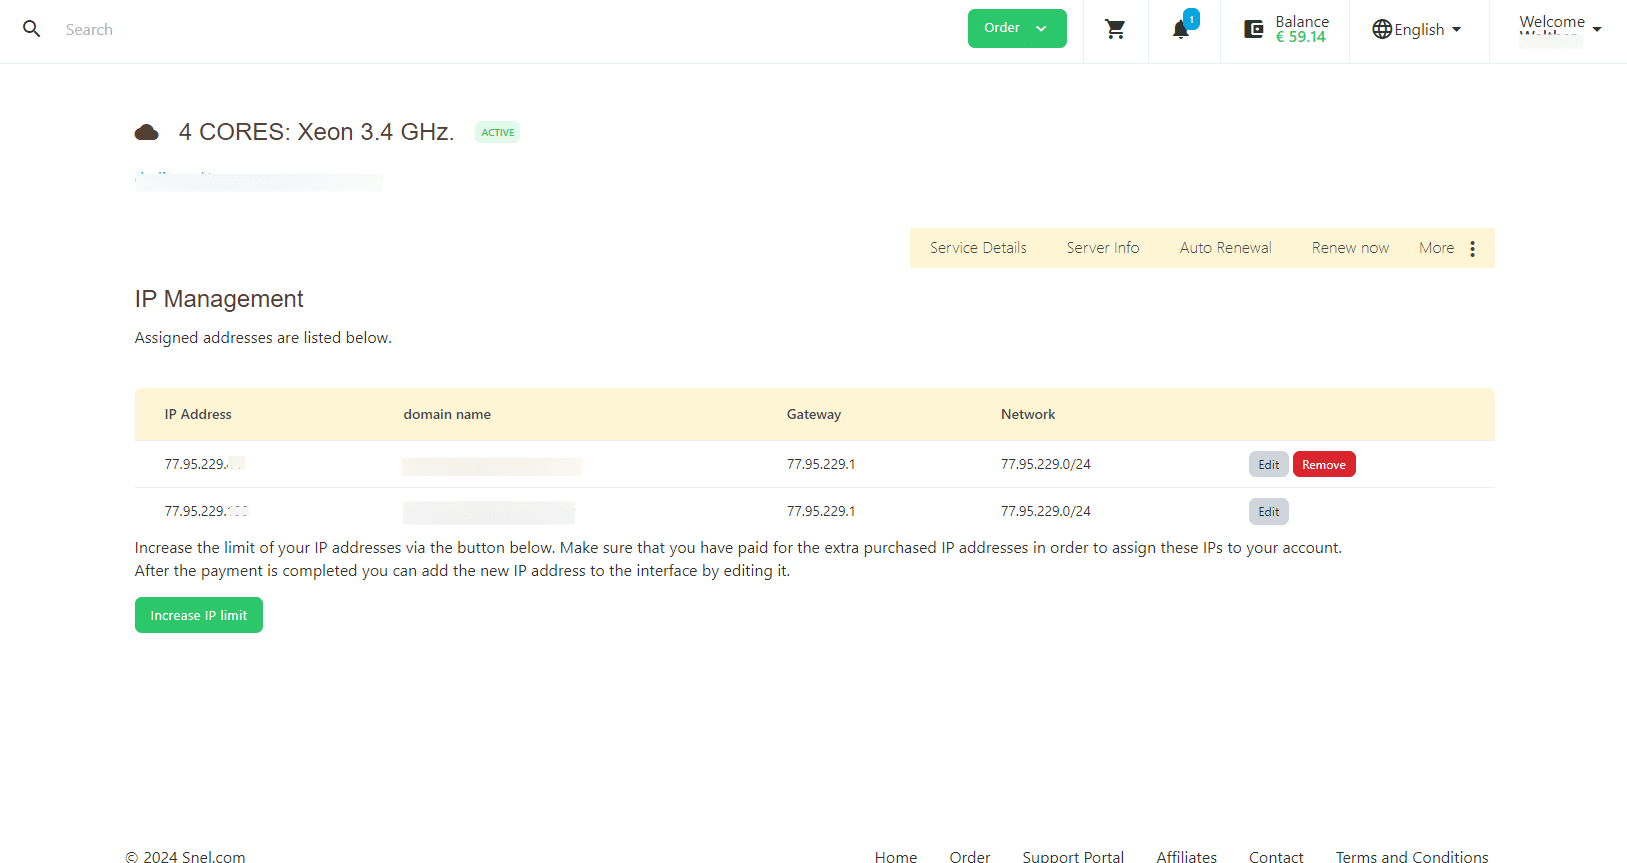
For Dedicated server :
- Choose the service and click more on the top right menu
- Choose IP management from the dropdown list
You can find the IP address, Network address and Gateway
Before changing the configuration file it’s recommended to check for syntax errors. This can be checked with
netplan try
You can also apply the changes without checking on syntax error
netplan apply
Step 4 – Verify the configuration
To ensure the static IP has been configured correctly, check the network interface details again:
ip a
You should see your static IP address assigned to the specified interface.
Conclusion
By following these steps, you can successfully configure a static IP address on Ubuntu 18.04 using netplan.

Leave a Reply