Privacy settings
Decide which cookies you want to allow.You can change these settings at any time. However, this can result in some functions no longer being available. For information on deleting the cookies, please consult your browser’s help function.Learn more about the cookies we use.
With the slider, you can enable or disable different types of cookies:
This website will
- Remember which cookies group you accepted
This website won't
- Remember your login details
- Essential: Remember your cookie permission setting
- Essential: Allow session cookies
- Essential: Gather information you input into a contact forms newsletter and other forms across all pages
- Essential: Keep track of what you input in a shopping cart
- Essential: Authenticate that you are logged into your user account
- Essential: Remember language version you selected
- Functionality: Remember social media settings
- Functionality: Remember selected region and country
- Analytics: Keep track of your visited pages and interaction taken
- Analytics: Keep track about your location and region based on your IP number
- Analytics: Keep track of the time spent on each page
- Analytics: Increase the data quality of the statistics functions
- Advertising: Tailor information and advertising to your interests based on e.g. the content you have visited before. (Currently we do not use targeting or targeting cookies.
- Advertising: Gather personally identifiable information such as name and location
This website will
- Essential: Remember your cookie permission setting
- Essential: Allow session cookies
- Essential: Gather information you input into a contact forms newsletter and other forms across all pages
- Essential: Keep track of what you input in a shopping cart
- Essential: Authenticate that you are logged into your user account
- Essential: Remember language version you selected
This website won't
- Remember your login details
- Functionality: Remember social media settings
- Functionality: Remember selected region and country
- Analytics: Keep track of your visited pages and interaction taken
- Analytics: Keep track about your location and region based on your IP number
- Analytics: Keep track of the time spent on each page
- Analytics: Increase the data quality of the statistics functions
- Advertising: Tailor information and advertising to your interests based on e.g. the content you have visited before. (Currently we do not use targeting or targeting cookies.
- Advertising: Gather personally identifiable information such as name and location
This website will
- Essential: Remember your cookie permission setting
- Essential: Allow session cookies
- Essential: Gather information you input into a contact forms newsletter and other forms across all pages
- Essential: Keep track of what you input in a shopping cart
- Essential: Authenticate that you are logged into your user account
- Essential: Remember language version you selected
- Functionality: Remember social media settings
- Functionality: Remember selected region and country
This website won't
- Remember your login details
- Analytics: Keep track of your visited pages and interaction taken
- Analytics: Keep track about your location and region based on your IP number
- Analytics: Keep track of the time spent on each page
- Analytics: Increase the data quality of the statistics functions
- Advertising: Tailor information and advertising to your interests based on e.g. the content you have visited before. (Currently we do not use targeting or targeting cookies.
- Advertising: Gather personally identifiable information such as name and location
This website will
- Essential: Remember your cookie permission setting
- Essential: Allow session cookies
- Essential: Gather information you input into a contact forms newsletter and other forms across all pages
- Essential: Keep track of what you input in a shopping cart
- Essential: Authenticate that you are logged into your user account
- Essential: Remember language version you selected
- Functionality: Remember social media settings
- Functionality: Remember selected region and country
- Analytics: Keep track of your visited pages and interaction taken
- Analytics: Keep track about your location and region based on your IP number
- Analytics: Keep track of the time spent on each page
- Analytics: Increase the data quality of the statistics functions
This website won't
- Remember your login details
- Advertising: Tailor information and advertising to your interests based on e.g. the content you have visited before. (Currently we do not use targeting or targeting cookies.
- Advertising: Gather personally identifiable information such as name and location
This website will
- Essential: Remember your cookie permission setting
- Essential: Allow session cookies
- Essential: Gather information you input into a contact forms newsletter and other forms across all pages
- Essential: Keep track of what you input in a shopping cart
- Essential: Authenticate that you are logged into your user account
- Essential: Remember language version you selected
- Functionality: Remember social media settings
- Functionality: Remember selected region and country
- Analytics: Keep track of your visited pages and interaction taken
- Analytics: Keep track about your location and region based on your IP number
- Analytics: Keep track of the time spent on each page
- Analytics: Increase the data quality of the statistics functions
- Advertising: Tailor information and advertising to your interests based on e.g. the content you have visited before. (Currently we do not use targeting or targeting cookies.
- Advertising: Gather personally identifiable information such as name and location
This website won't
- Remember your login details


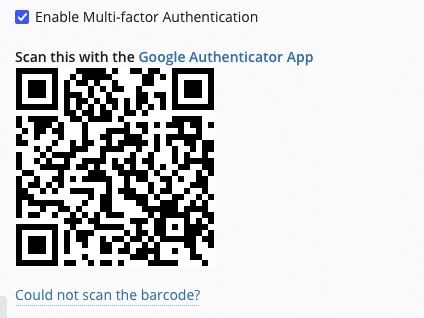
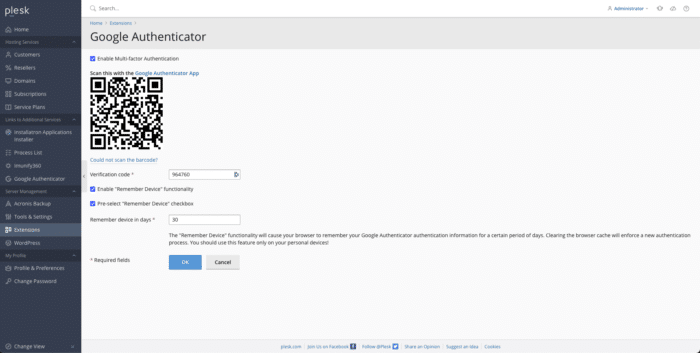
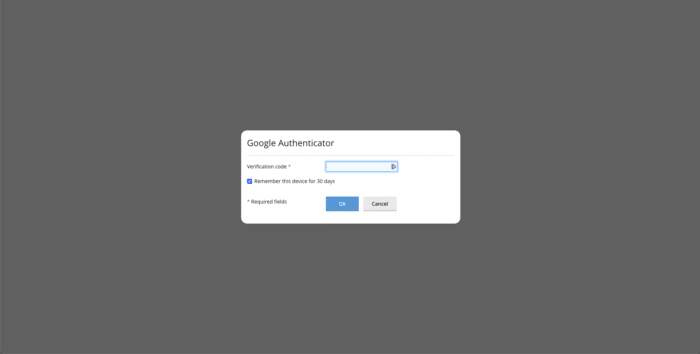
Its available for plesk webmails .??
Two-Factor Authentication (2FA) is currently only available at the Plesk level and cannot be enabled for Webmail through Plesk.